
Setting up a Hosted Donation Page
If you are a non-profit organization and will be using your BitPay account to collect donations, follow the instructions on this page to quickly generate a webpage that is hosted by BitPay and can be hyperlinked on your website or provided directly to a donor.
- Log in to your BitPay merchant dashboard.
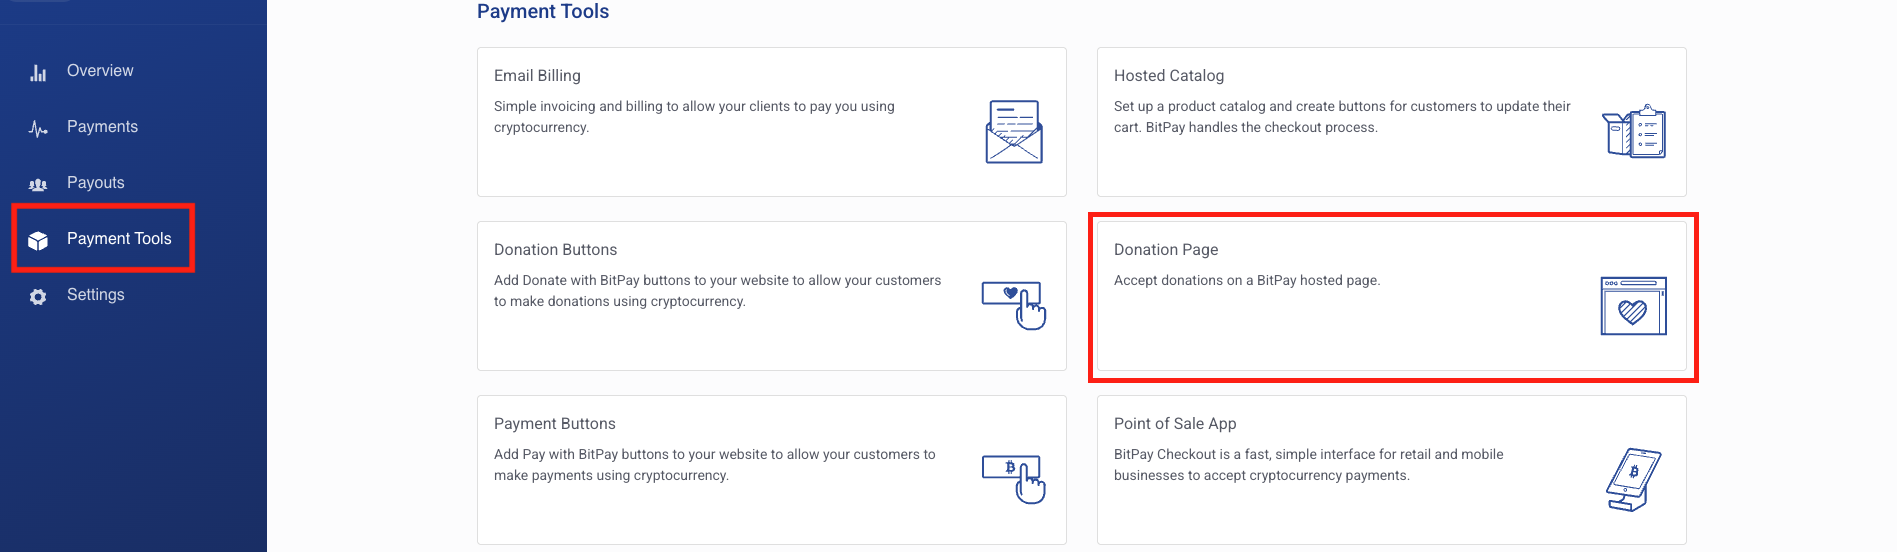
- Click on the "Payment Tools" tab on the lefthand menu, and then click on "Donation Page" as shown in the image below. (Note: if you do not see the Donation Page option, please contact BitPay's support team or your account executive.)
- Customize your donation page as desired.
- Default currency - we recommend selecting your local fiat currency. Your donor will be able to pay using their preferred cryptocurrency. This currency selection is used for pricing purposes (for example, your donor would choose to donate $100 USD worth of their preferred cryptocurrency).
- You may modify the display name your donors will see, otherwise we will display your account's name.
- Information collection fields - if you checkmark these boxes, BitPay will collect this information from your donor before they make payment. This information will then be available to you when you download transaction data. If you are collecting the information before directing your donors to the BitPay donation page, you won't need to require it here.
- Make sure to save your changes by clicking the button at the bottom of the page.
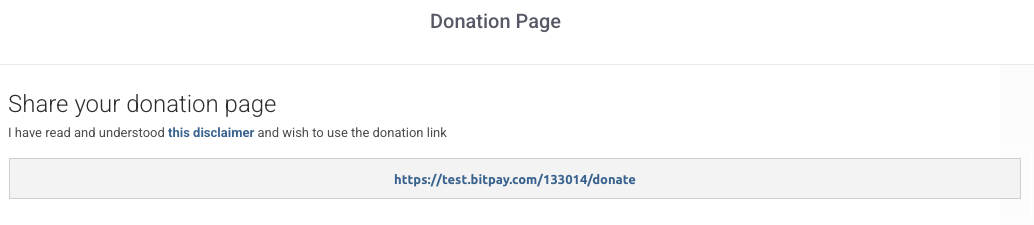
- Lastly, copy the URL at the top of the page. This is the link to your hosted donation page, and can by hyperlinked on your website, or simply provided directly to your donor.
Updated 8 months ago
Did this page help you?